Complete or Update a Provider Profile in the Child Care Finder Provider Portal
This how-to guide gives step by step instructions on how to use the Child Care Finder Provider Portal. The purpose of this guide is to support providers navigating their own access, and for use by others who are supporting providers with technical assistance.
This guide walks through each page in the provider profile, and the steps to review and update the information within it. This guide highlights some of the key fields. For a complete list of each field in Child Care Finder and whether it is editable or viewable, refer to the Child Care Finder Provider Portal Glossary, available on the Provider Resource Page.
Child Care Provider Portal

1. From this Child Care Finder Provider Portal landing page, click the pencil icon to view and edit the profile of each provider location.

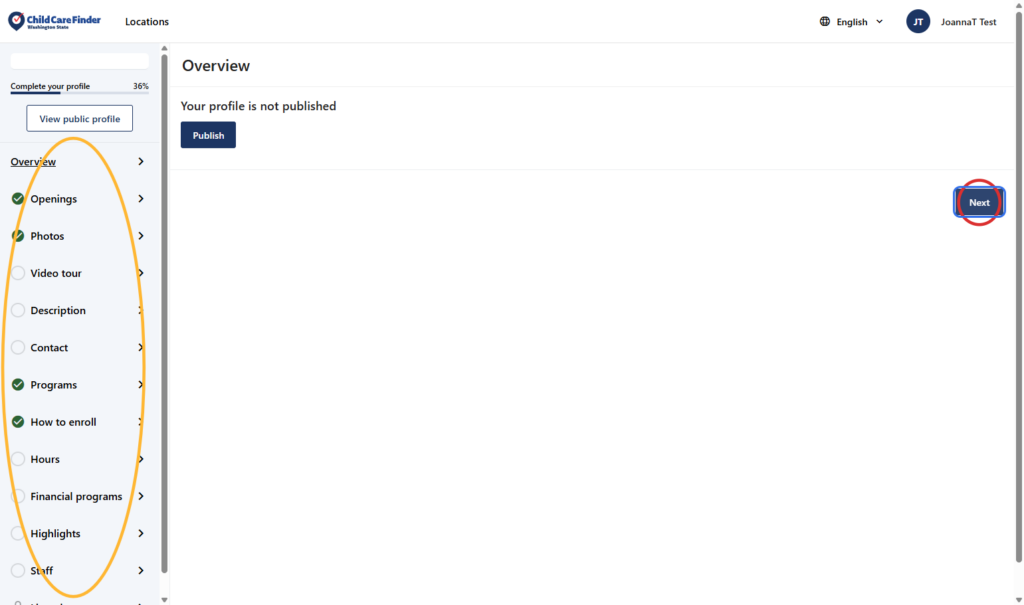
2. This is the provider profile overview page, which will show whether or not your information is currently Published or Unpublished.
To navigate through the profile pages in order, click Next (circled in red below). You can also choose where you’d like to go using the navigation tabs on the left side of the screen (circled in yellow).
3. This is the Openings page. For more detail on how to update your openings to share with families looking for care, please review the “Update Openings” how-to guide. Click Next to move to the next page.

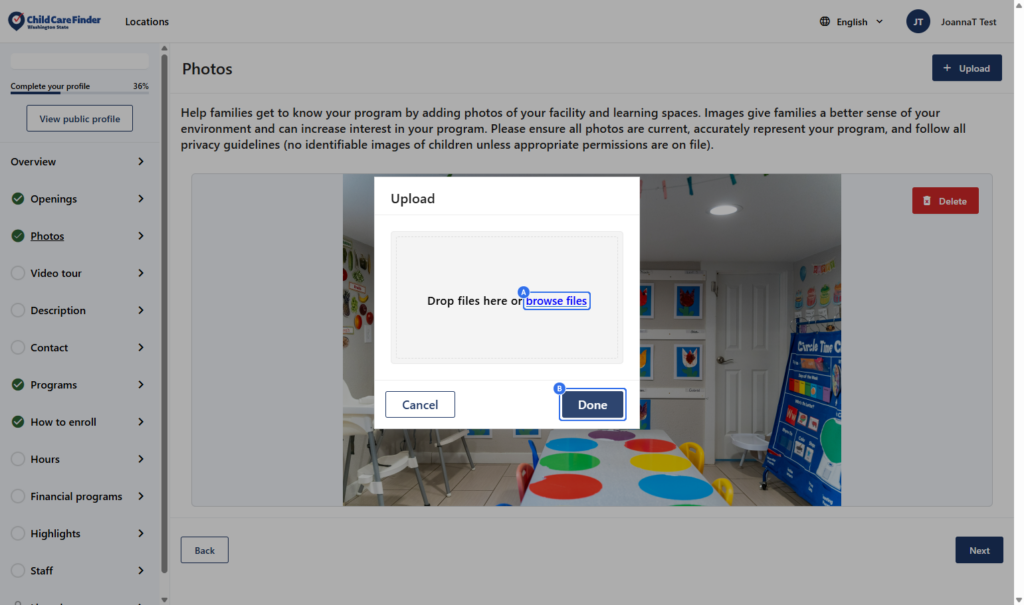
4. This is the Photos page. Here, you can upload photos of your space or your program for families looking for care. This will improve the look of your profile, and be inviting to families.

5. Click on Upload in the upper right to add photos from your device.

6. Click on browse files to select a photo.
Click on Done once your photo is added.
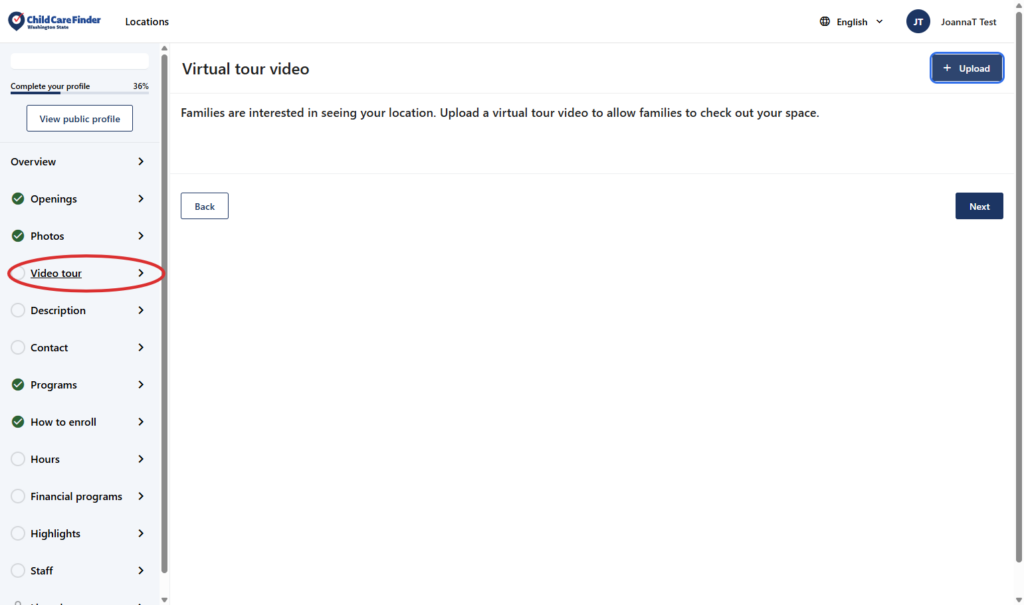
7. This is the Video Tour page. Here you may add a video to show families your space. Click on Upload to add a file from your device.
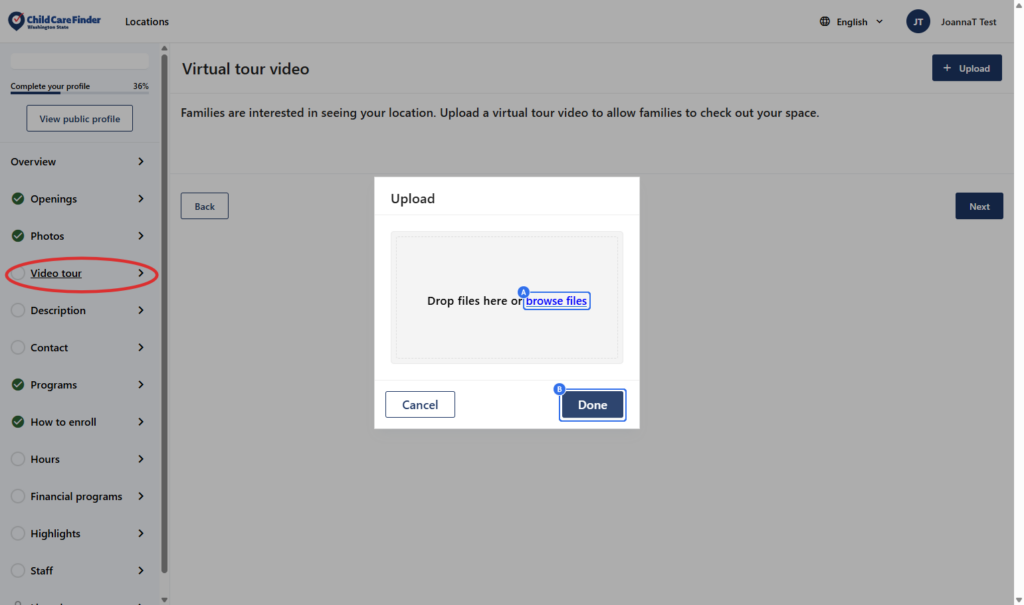
8. Click on browse files to upload a file from your device.
Click on Done.
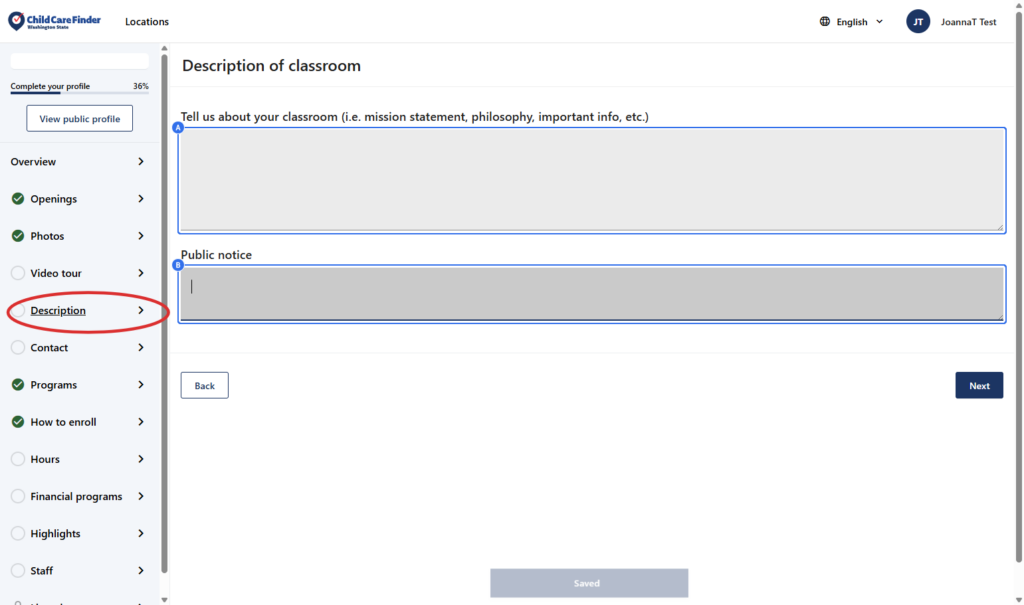
9. On the Description page, you can add in a description of your program in the “Tell us about your classroom”. You can also add a Public notice, which will be displayed prominently on your listing for families to see.
For guidance on what to add in this section, check out the guides within the Provider Resource Page.
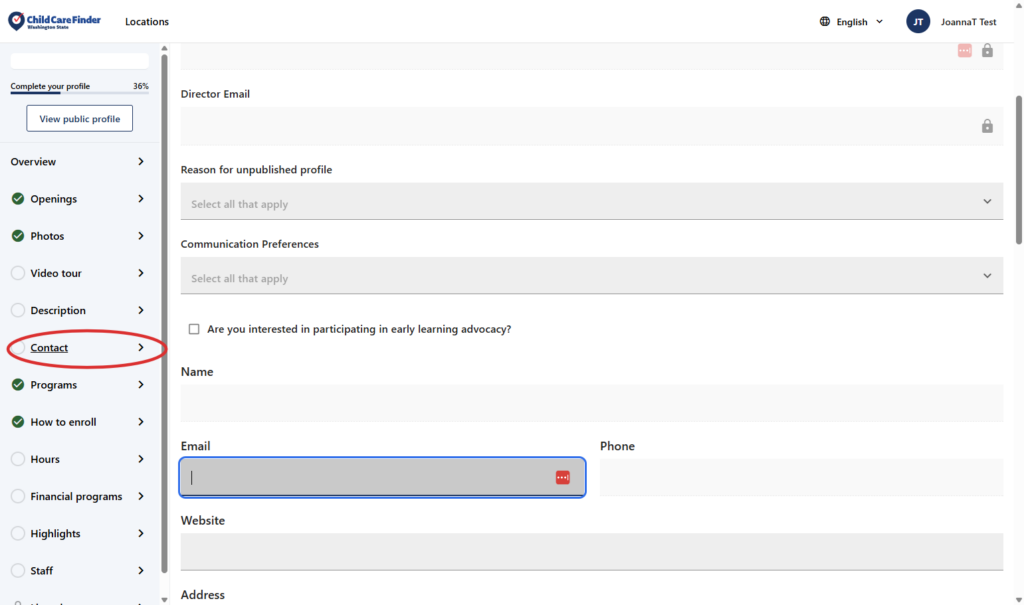
10. This is the Contact page. Scroll down the page to view all the fields that can be updated. You’ll note there are some fields that are locked and can’t be edited – that data comes directly from licensing.
For detail on the fields on each page, refer to the Child Care Finder Glossary, available on the Provider Resource Page.
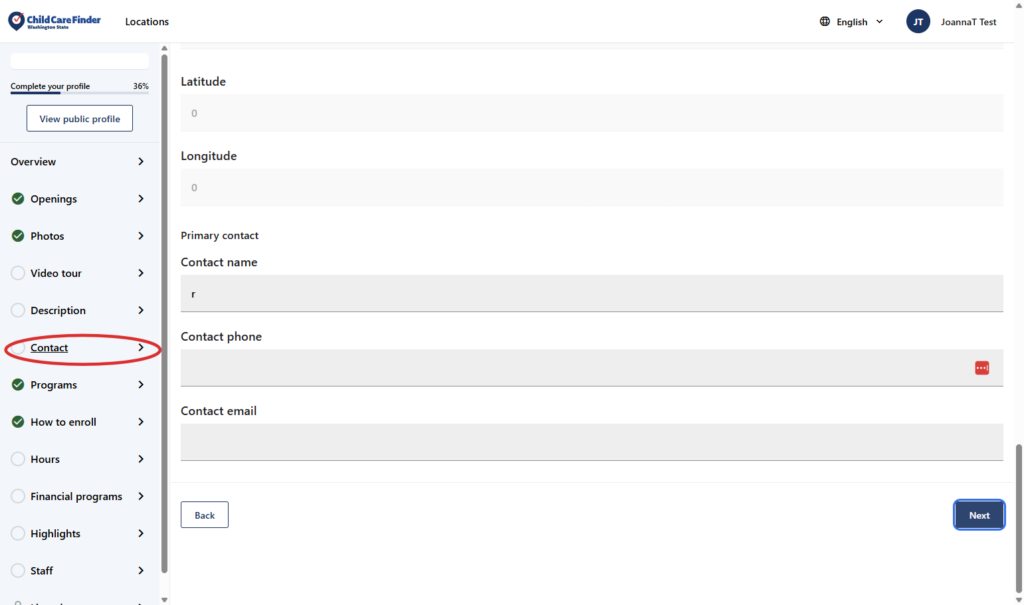
11. Once you’ve reviewed the full Contact page, click on Next to continue to the next page.
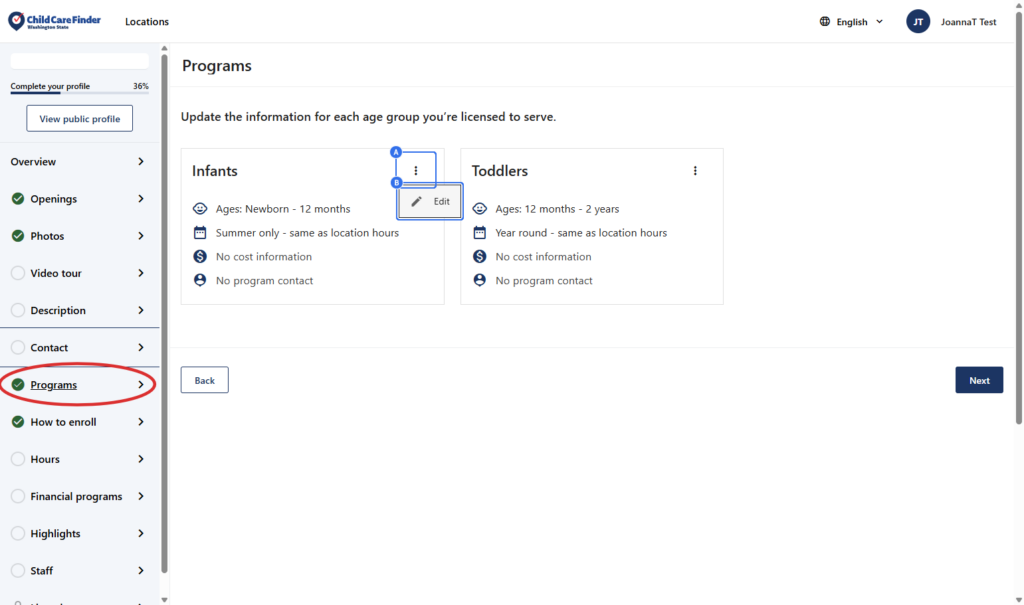
12. This is the Programs page. Here, you’ll see a separate section for each age group that you’re licensed to serve at this provider location. To add details specific to each age group, follow steps 13-15 for each age group listed. This example demonstrates updating Infants.
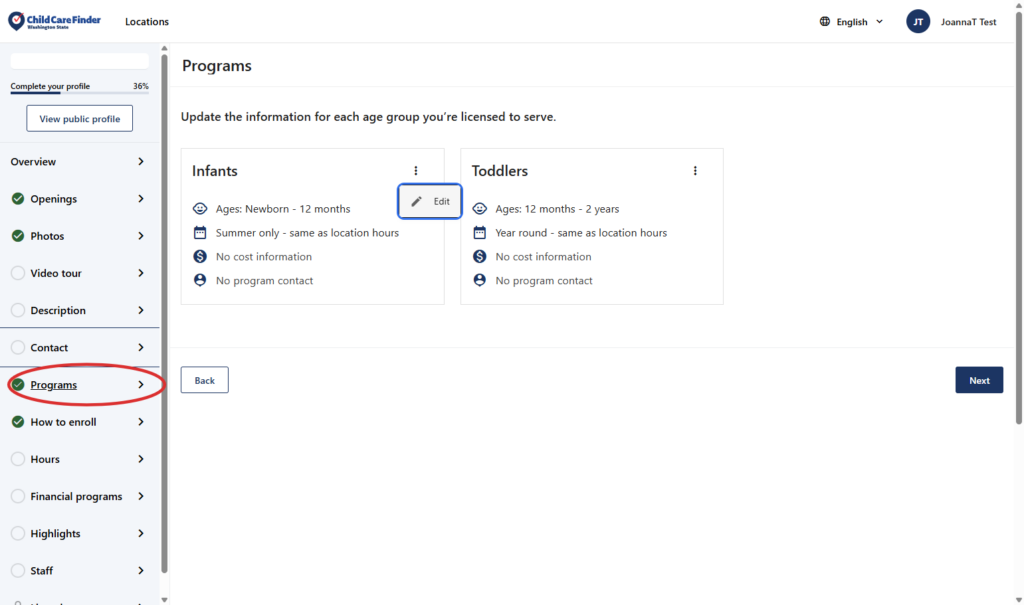
13. Example: Updating the infant age group. Click on the three dots
Click on Edit
14. Scroll through the page, completing the fields.
For more detail on how to update all these fields, review the Glossary in the Provider Resources Page.
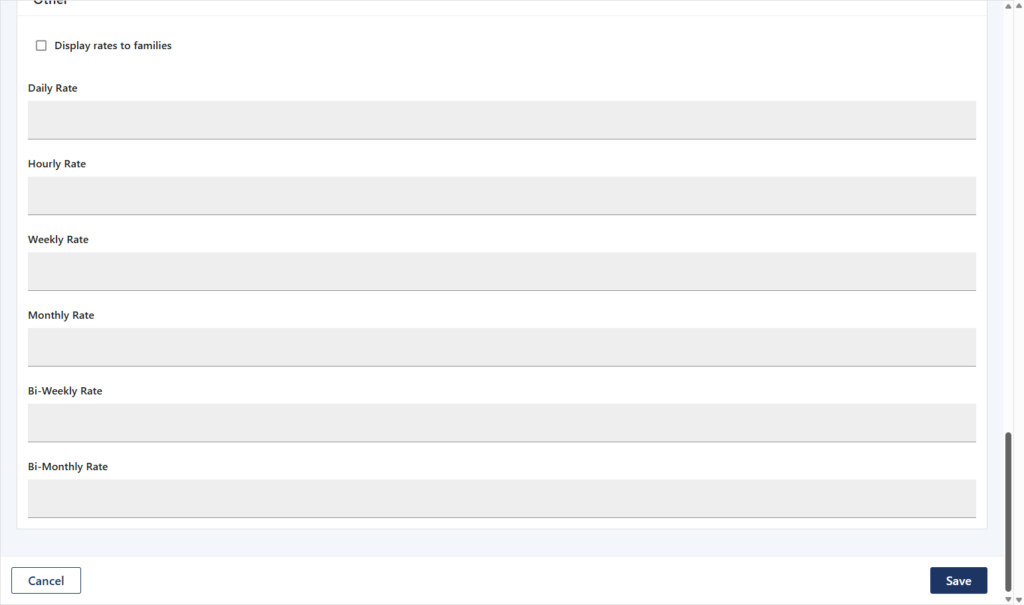
15. Click on Save.

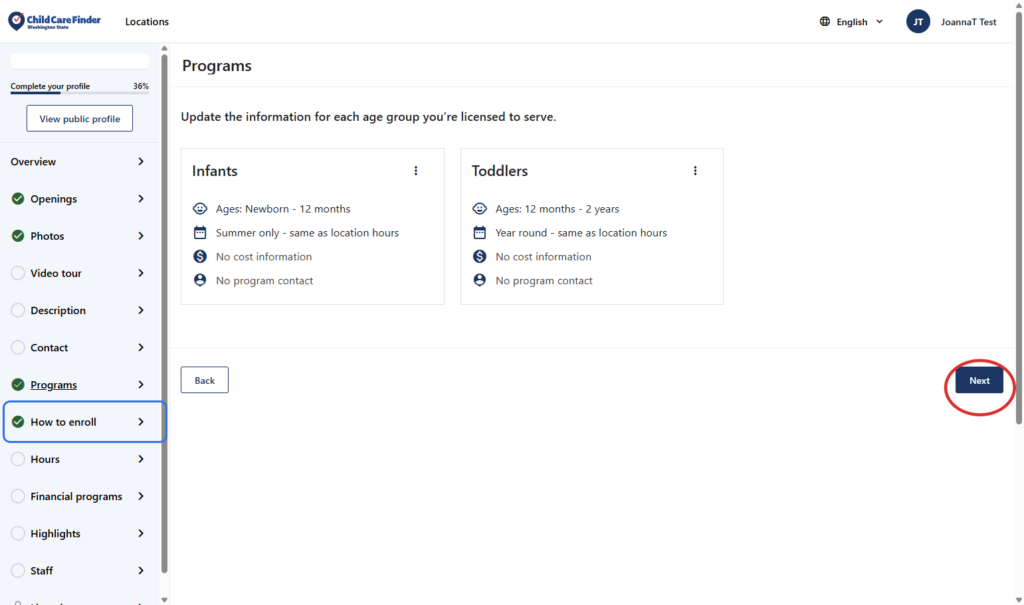
16. Complete steps 13-15 for each age group. Then click Next.
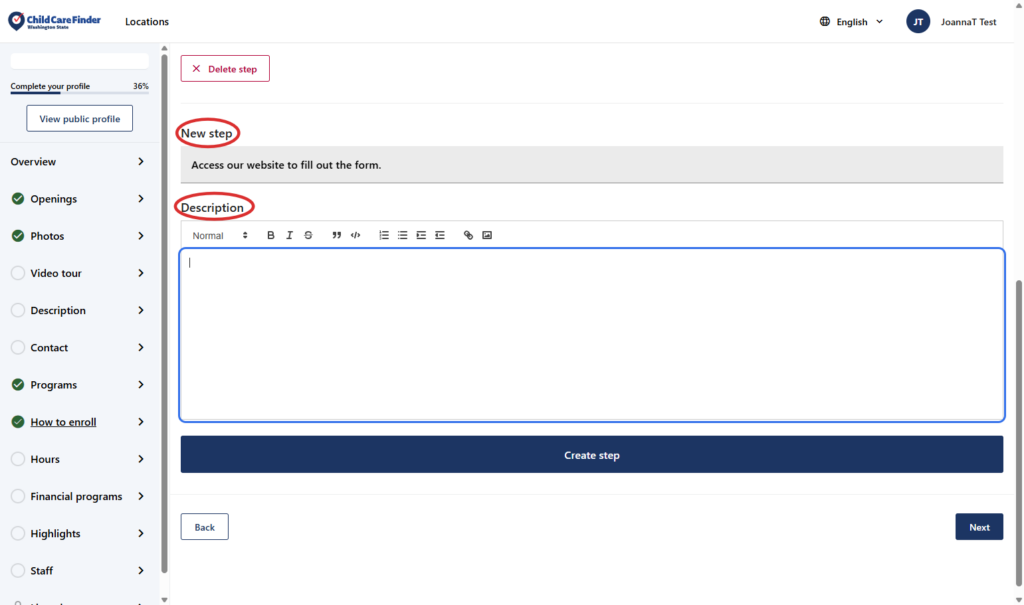
17. This is the How to Enroll page. On this page, you can give families instructions on how to enroll in your program. You will name each step of your process, and are able to provide a description for each. To add the title of your first step, enter into the box “Step 1”
If you don’t want to enter multiple steps, but would rather enter only one general summary on how to enroll, you can enter just one step here.

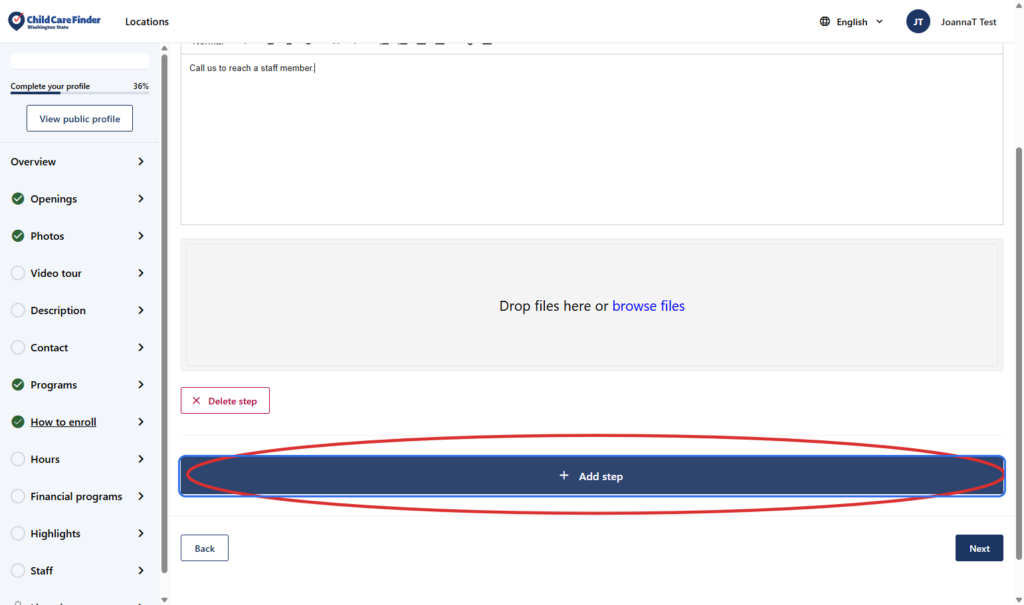
18. Once you’ve entered the title, Type in text field called “Description” to describe the details of this step in how a family would go about enrolling in this program.
This section may include a general description, or specific links to forms or website pages. If the family should add themselves to a waitlist, complete an application, or contact the program directly, describe that here. If you’d like to attach documents or forms, you can add those below for families to see and download.

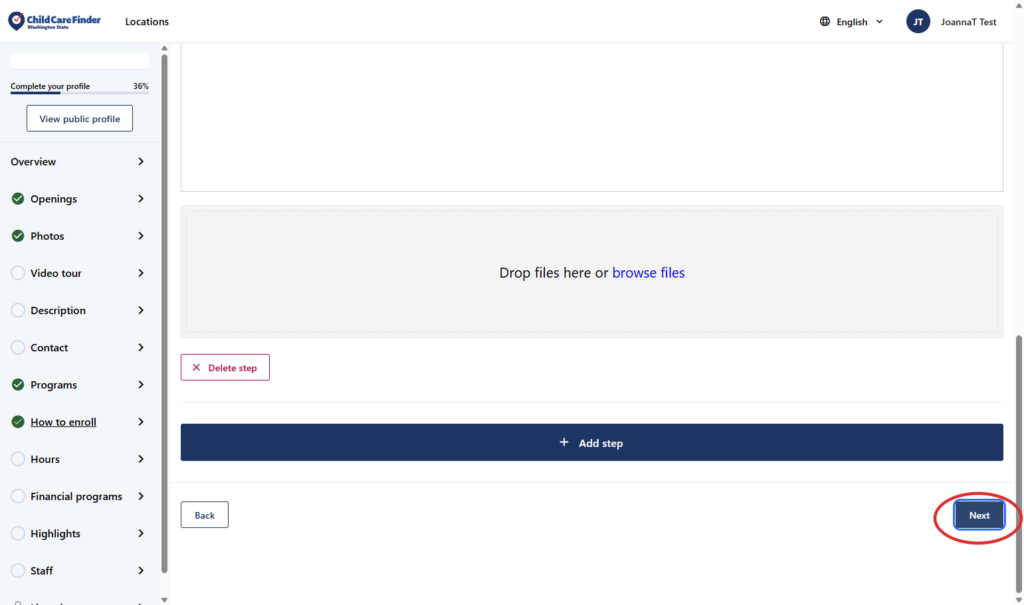
19. If you’d like to add multiple steps, Click on Add step
20. Add a title and description for the second step. Repeat for as many steps as you’d like.
21. When you’re done adding each step, to continue on to the next page, Click on Next
When selecting age groups, you’re indicating the ages of children you are able to enroll in these openings. If all your openings are available to all age groups, you can enter all your openings at once and select all age groups here. If you have some openings that are available to multiple age groups, but others that are restricted to only one age group, you would enter them separately.
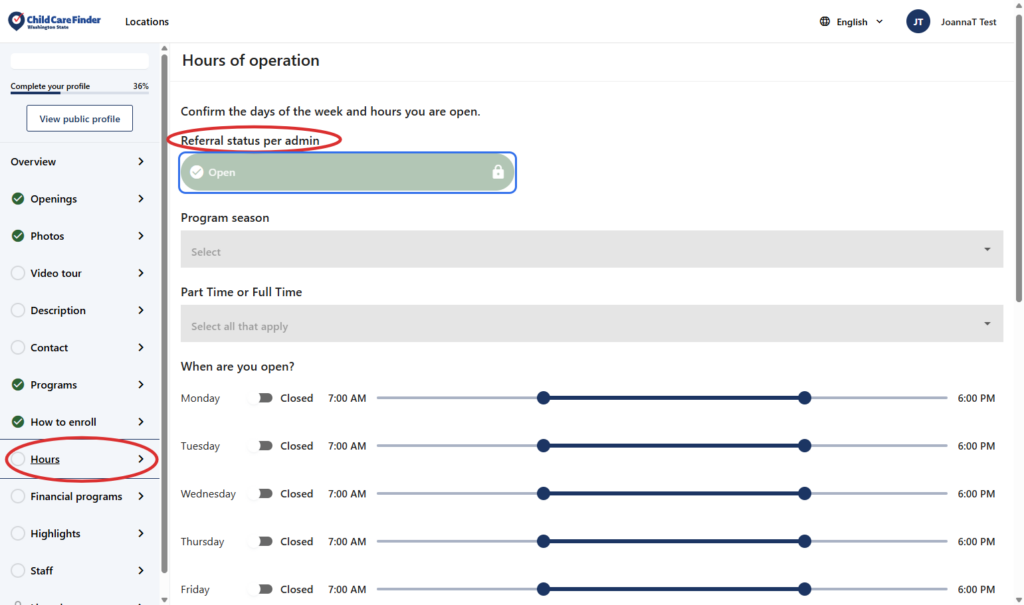
22. This is the Hours page. Here, Note the “Referral Status per Admin” field
This is an important field on the profile. If licensing has indicated that this provider location has a licensing violation, license has been closed, or is pending, the Child Care Aware of Washington Admin may mark the location as “Closed” here. If you see anything other than Open, your profile may not be appearing in search results, even if the profile is Published. If you have questions about what you see here, reach out to providersupport@childcareawarewa.org
23. Scroll down the Hours page, updating the fields within it.
For more detail on the fields on this page, review the Glossary in the Providers Resource section.
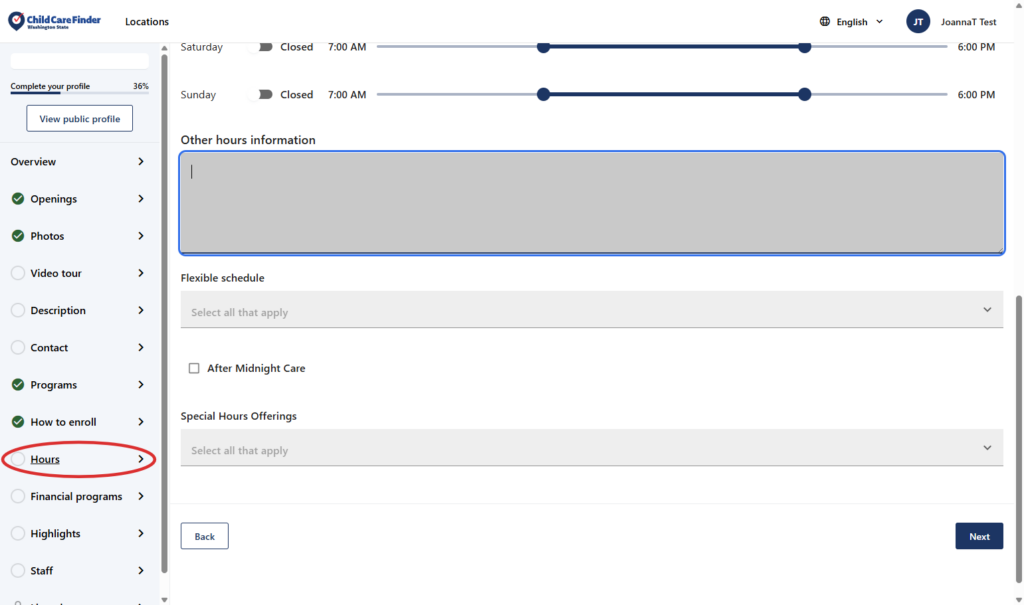
24. When you’ve updated the Hours Page, to continue on to the next page, Financial programs, click Next.
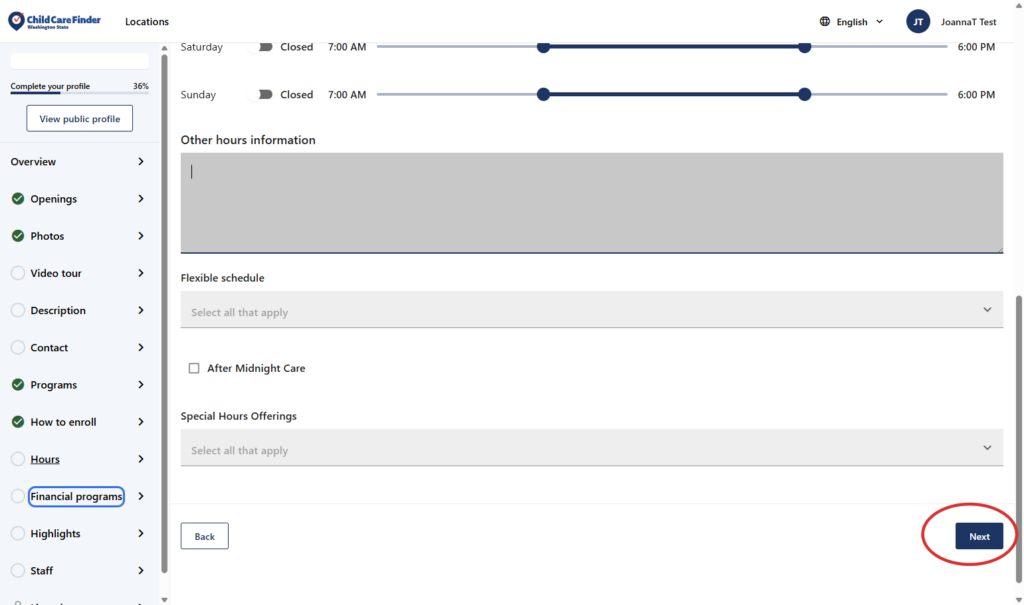
25. Update the fields on the Financial Programs page. Then, click Next to continue to the next page.
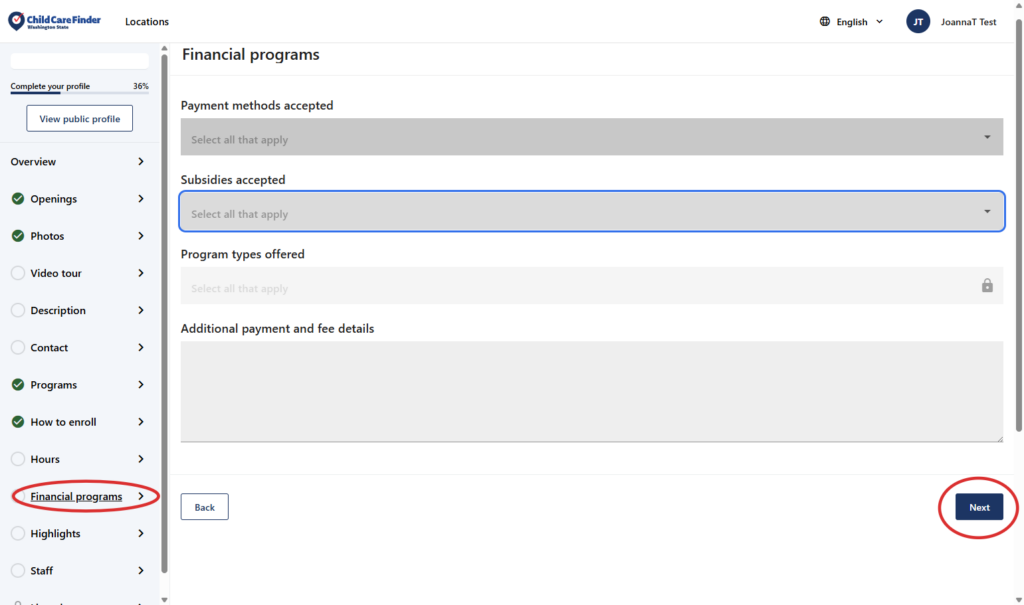
26. Continue onto the next page, Click on Highlights.
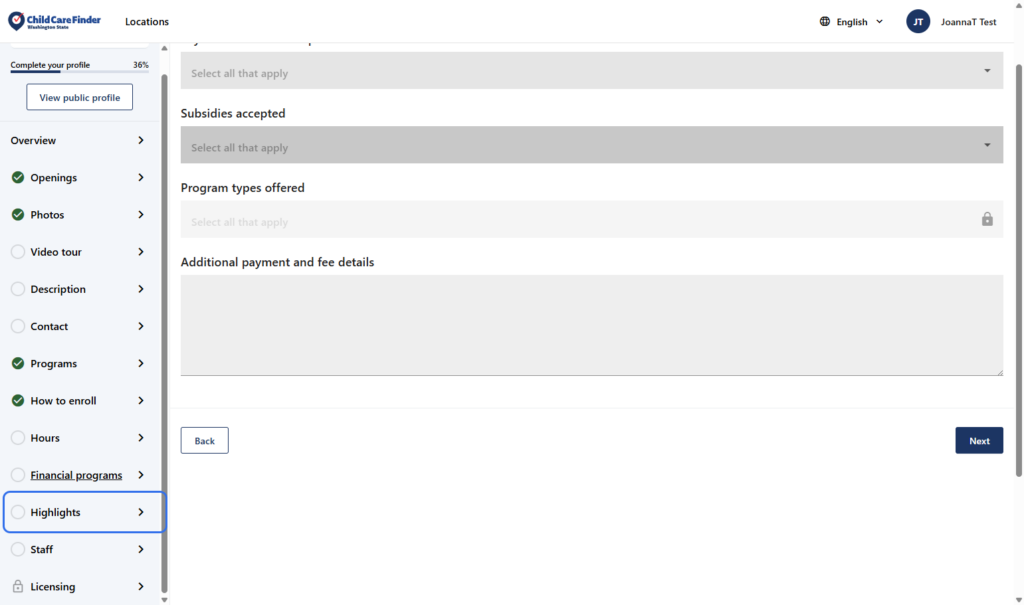
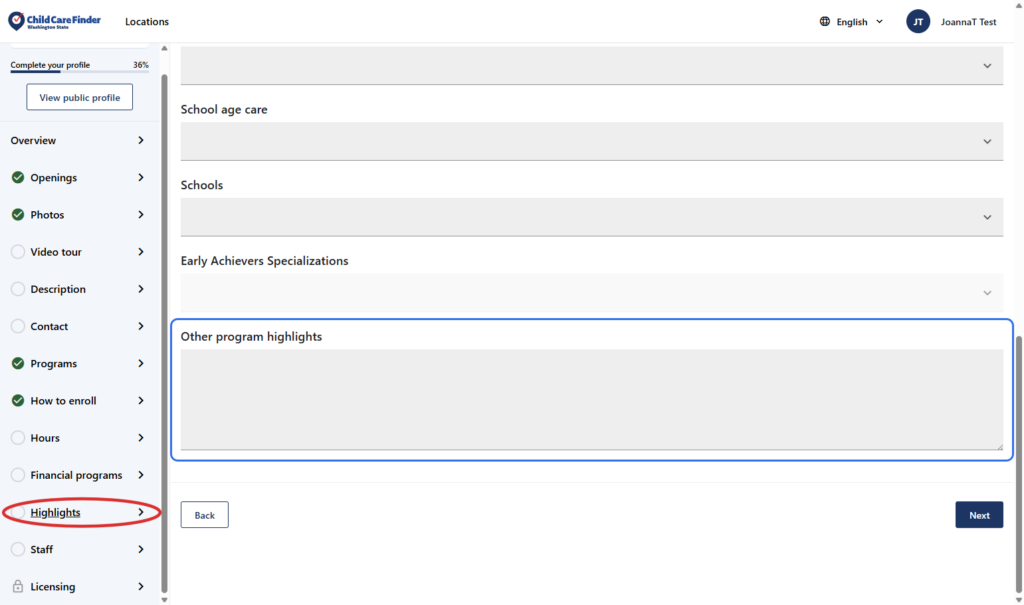
27. This is the Highlights Page, which includes details about your program that are highlighted prominently to families. Click each dropdown (Curriculum is shown here) to view the options, and select your information.
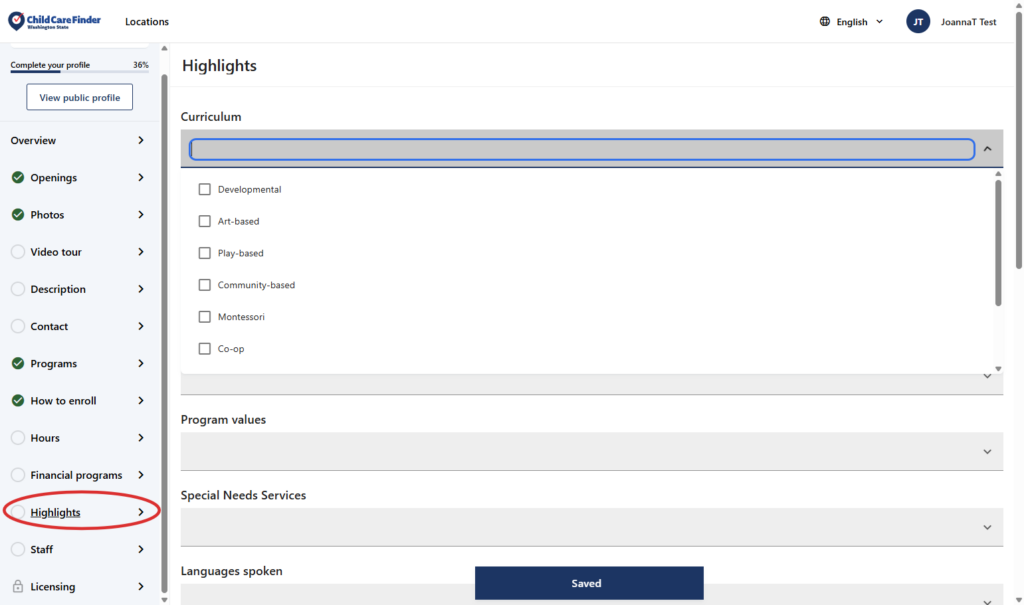
28. Continue down the page, clicking the dropdowns to view what options are available and make your selections. In the “Other Program Highlights” section, add any information you want to add about the selections you’ve made on this page.
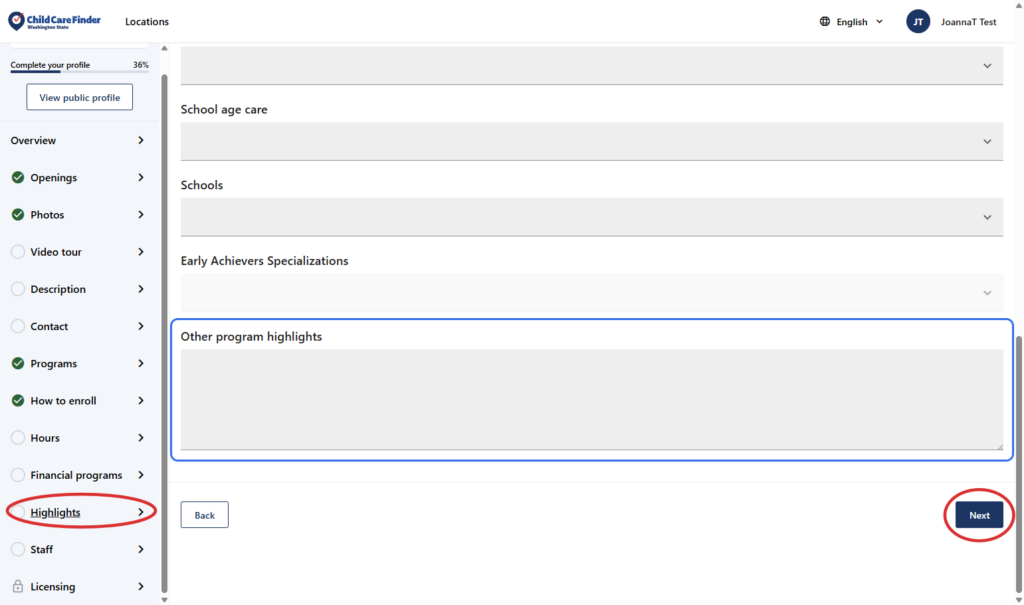
29. Once all information is complete, click Next to continue on to the next page.
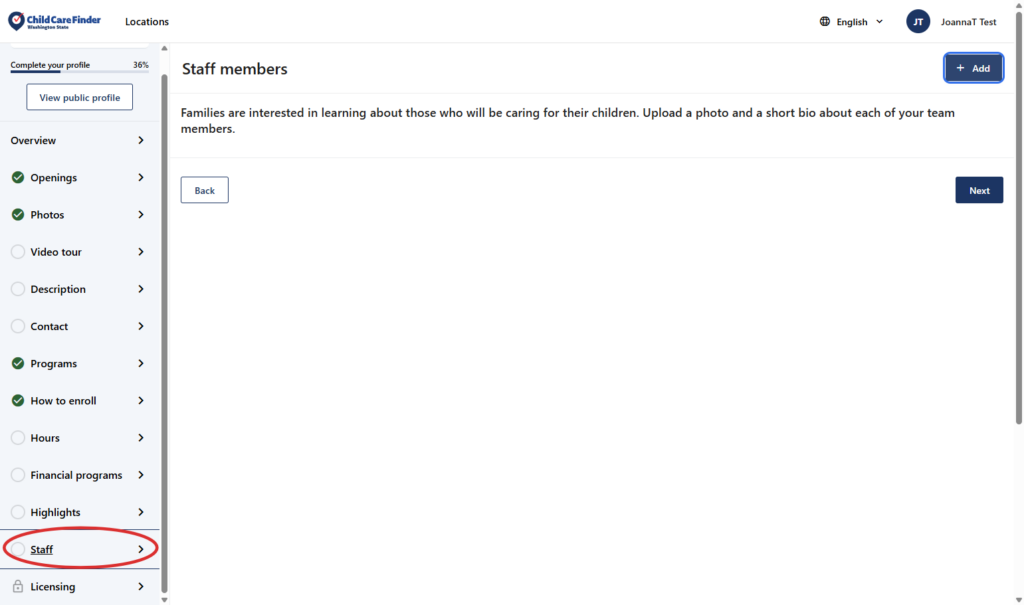
30. This is the Staff page. If you’d like to add in photos or bios about team members, teachers, or other staff, click Add, and complete the short bio within.
While completely optional, adding bios of the staff at your program is inviting and informational for families who are looking for care options that are right for them.
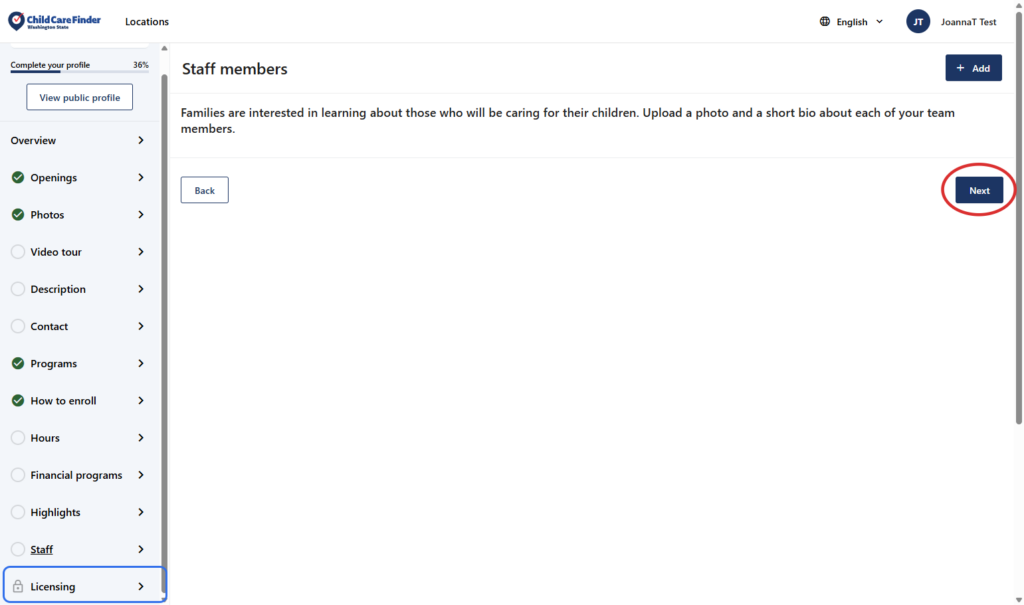
31. Click on Next to continue to the last page.
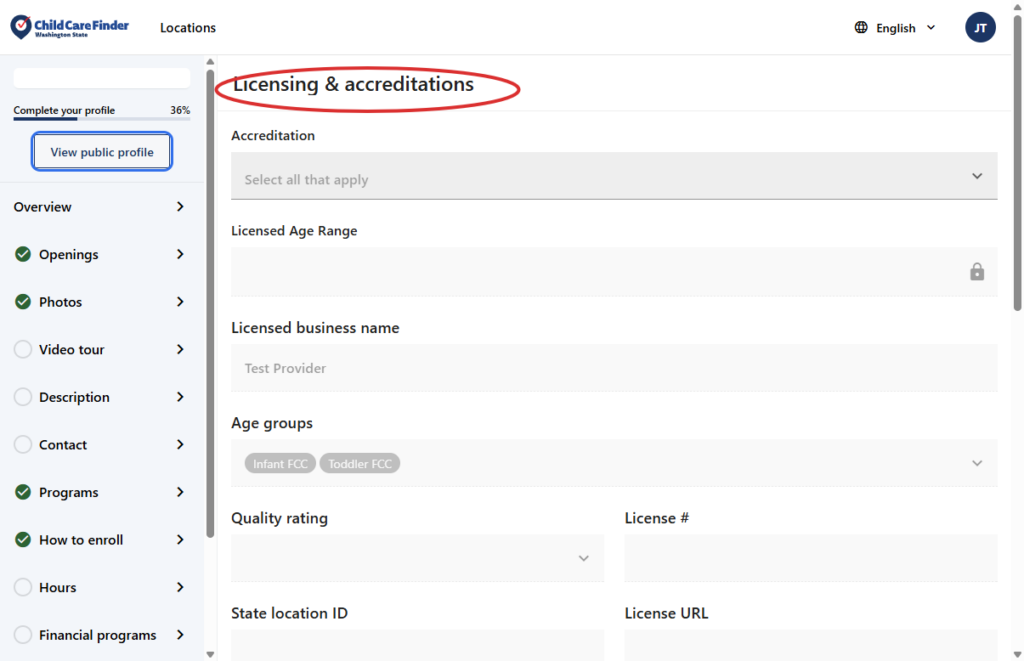
32. This is the Licensing page. Most information on this page is not editable, and reflects information that comes directly from Licensing or another DCYF source. For more information on what you see here, refer to the Glossary in the Provider Resources page.
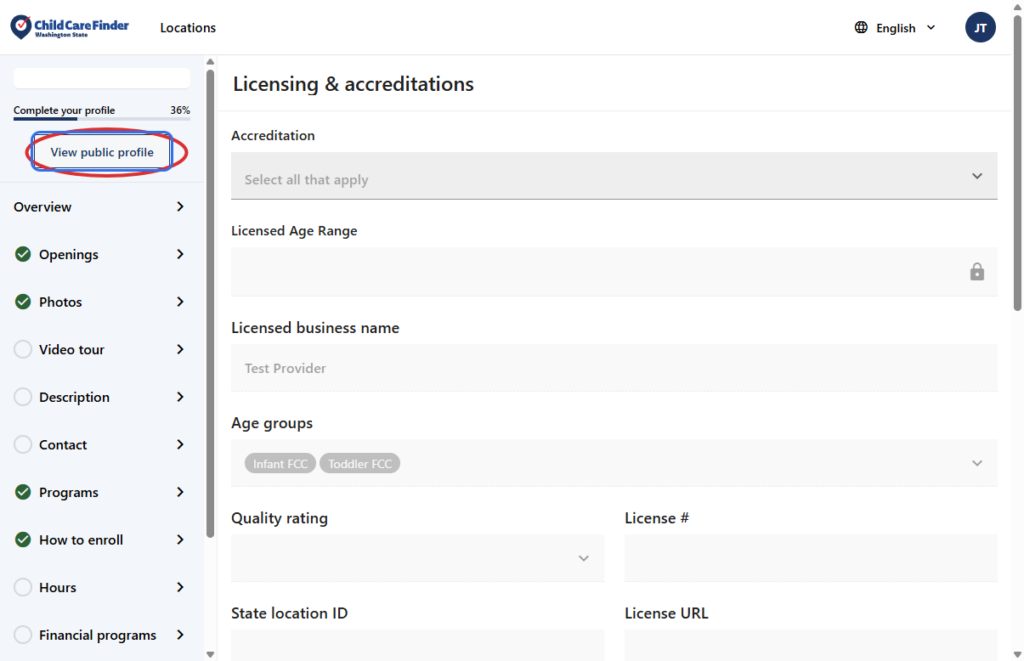
33. As you update the information on your profile, click on “View public profile” any time to see how your profile will look to a family who has clicked to view your listing.
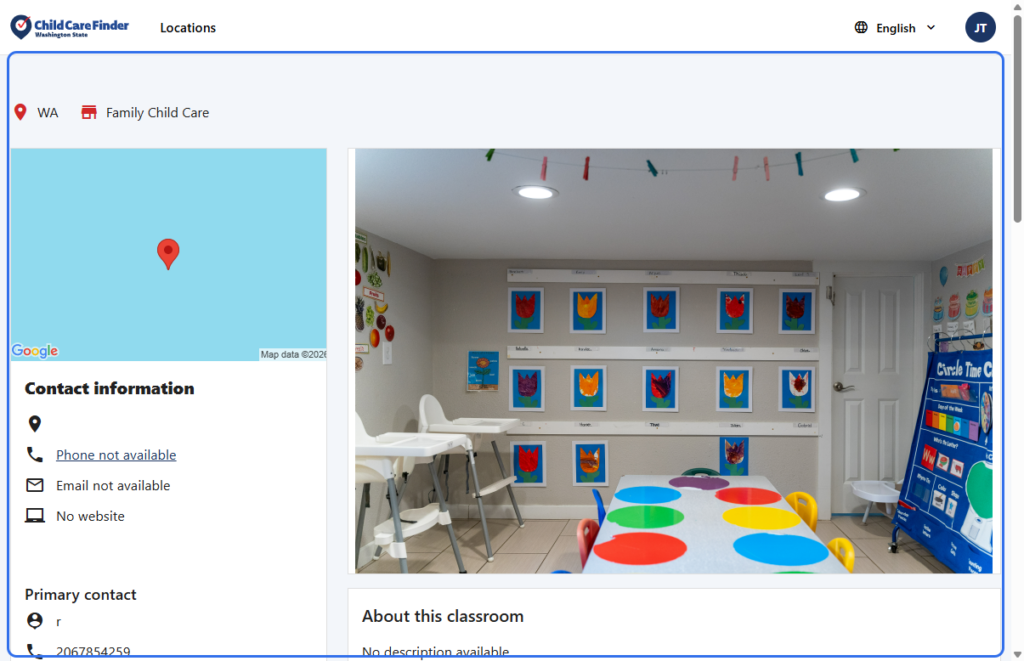
34. This is the “View public profile” page. View how your profile looks. If it looks incomplete, return back to your profile to add more information or photos.
Privacy Policy
Your privacy and security matter to us. Child Care Aware of Washington only shares your information if you choose to opt in, so families may learn about your services. Your profile will remain private until you opt in to being listed.